


Interior & Exterior Painting
Painting
Read more403 Navaho Dr, Frederick, MD 21701

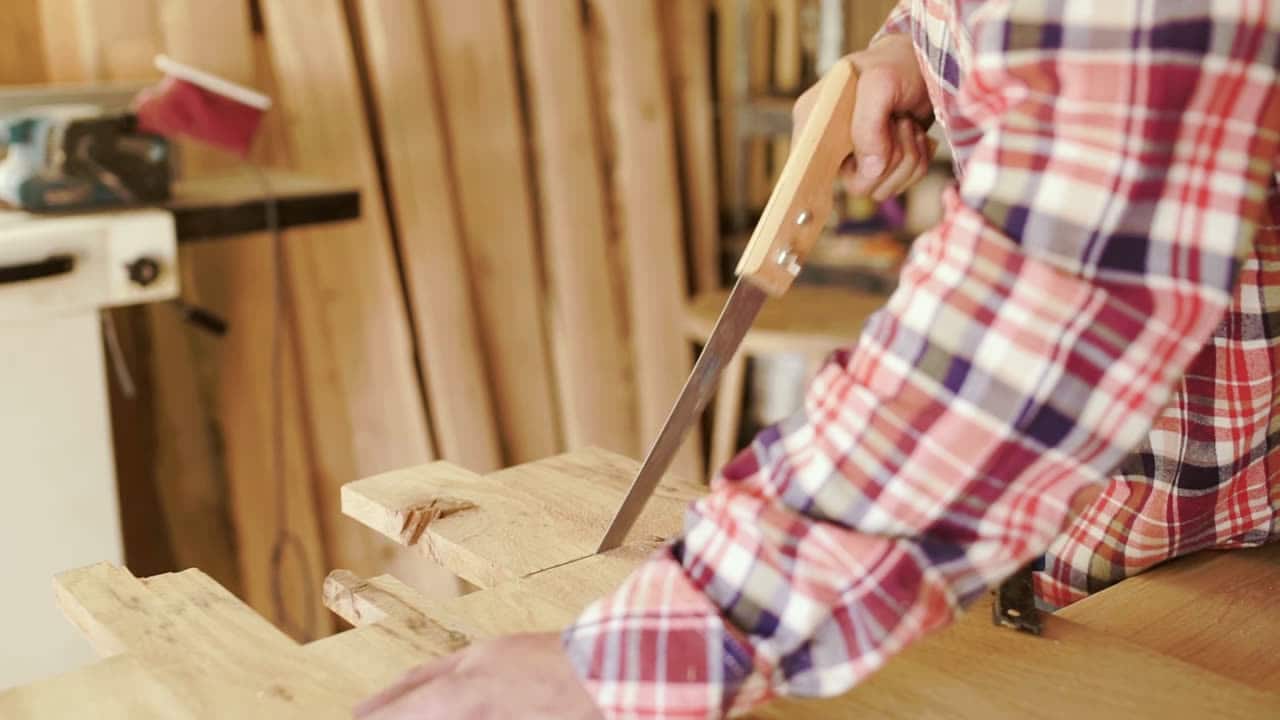
Finish Carpentry · From the field
A built-in is the one piece of carpentry everybody can picture and almost nobody can specify, because the hard part is invisible: the walls are not square, the floor is not level, and the finished thing has to look as though the house was built around it. A look at how the work actually goes.
Quick answer
A painted built-in in a standard alcove — shelving above, doors below, scribed to the walls and trimmed to match the room — typically runs two to five thousand dollars depending on width, height and whether there is electrical or a radiator in the way. Stain-grade hardwood, glass doors or a window seat with storage push it higher. The cost is mostly labour, because almost every cut is made to fit a wall that is not straight.

Walk into any Frederick house built before about 1960 and put a level on the alcove either side of the chimney breast. The walls lean, the two sides are different widths by half an inch or more, the floor falls away towards an outside wall, and the ceiling is not parallel to any of it. A flat-pack unit dropped into that gap announces every one of those facts.
A built-in hides them. The carcase is built square and plumb regardless of the opening, then the scribes — the filler pieces and shaped edges where it meets the wall — are cut to follow whatever the wall actually does. That is where the hours go, and it is why the same unit costs more in a hundred-year-old house than in a new build.
It is also why a built-in that is right looks like nothing at all. Nobody admires a shelf. They notice an alcove that looks original, and that impression is almost entirely the scribe lines and the trim returning into the existing skirting and casing.
The thing that makes new joinery read as new is trim that nearly matches. A base profile that is close but not right, a crown that stops dead against the unit instead of returning, a shelf edge in a different thickness from everything else in the room — any one of them tells the eye this was added later.
So the first thing we do is take a profile off the existing trim, and then either source the matching stock or have it run. On older houses the profile often does not exist in any merchant’s catalogue, in which case the honest options are a custom knife or the nearest available profile with the difference deliberately resolved somewhere it cannot be seen. We will tell you which one we are doing.
Where a built-in meets an existing baseboard the joint has to be mitred or returned properly rather than butted and caulked. Caulk on a trim joint is a sign of how fast the job went, and it reappears as a dark line in year two when the wood moves.
Before anything is drawn we find out what is in the wall. A chimney breast may still have a flue in it. An alcove often contains an abandoned gas line, a radiator pipe, a mains cable running up to a switch, or a cold-air return. A window seat may sit over a baseboard heater that cannot simply be boxed in.
None of this stops the work, but all of it changes the design, and finding it after the carcase is built is expensive. Where a built-in will cover an outlet or a switch, the right answer is usually to relocate it into the unit rather than lose it, and that is licensed electrical work with its own permit question depending on the county.
Heat matters more than people expect. Enclosing a radiator or blocking a return changes how the room performs and can cause condensation behind the unit. Where that is the risk we vent the carcase or keep the back open, which costs nothing and prevents a mould problem.
Paint-grade means poplar, MDF or a mix, filled and caulked and finished opaque. It is the right choice for most built-ins, it tolerates the small imperfections that scribing an old wall produces, and it costs less. Stain-grade means hardwood with visible grain, matched across the piece, with every joint cut to be seen.
The difference is not a finish decision made at the end. Stain-grade changes the material, the joinery, the order of work and roughly the price, because nothing can be filled and every surface is on show. Deciding halfway through is the single most expensive change you can make on a carpentry job.
For a library wall, a mudroom bench or a laundry run, paint-grade is almost always what we would recommend and what we would want in our own house. For a stair detail or a feature piece in a room with existing hardwood, stain-grade earns the extra.
Built-ins are the showpiece, but most of our carpentry work is quieter: baseboard and casing throughout a house, crown moulding, a wainscot or board-and-batten wall, interior doors hung properly so they stay shut, closet systems, a mantel, a window seat, stair parts and handrail. All of it is the same skill applied at different scales.
A fair amount of it is repair. Rotten exterior trim at a corner board, a door that has dropped, a handrail that was never anchored into anything, baseboard ruined by a dishwasher leak. We would rather splice and match an original profile than replace a whole run with something nearly right.
On pre-1978 houses any trim work that disturbs old paint comes under the EPA’s lead renovation rules, and sanding a hundred-year-old baseboard is exactly the kind of disturbance those rules exist for. It is worth asking any carpenter how they handle that, because the dust goes everywhere and it is not the kind of thing you find out about later.
If you only skim
The trade behind this post
Finish Carpentry & Trim
Reading because you have this exact problem? Call and describe it. You’ll get a straight answer on whether it’s something we do and roughly what it runs.
(301) 524-1729See how we do finish carpentryWhat finish carpentry costs in MarylandOn the job
Trade photography, stage by stage. Photos of our own recent jobs come out at the walkthrough, on the actual house.


Straight answers
Not covered here? Call and ask — you’ll get a real answer, not a “depends on the job”.
Two to five thousand dollars for a painted alcove unit of ordinary size, more for a full wall, a window seat with storage, glass doors or stain-grade hardwood. Relocating an outlet or a radiator pipe adds a trade. We quote them as a fixed scope rather than by the foot, because the fitting is the variable.
Carcases are built in sections and fitted on site, which is how the scribes can be cut to the actual wall rather than to a measurement. Fully shop-built units look superb in a shop and reveal every out-of-square inch of an old house when they arrive.
Three to six days on site for a typical alcove unit including trim and caulk, plus painting. Add time if an outlet is moving or if custom trim has to be run. Finish carpentry is the trade where rushing shows most, because every joint is at eye level.
Usually. We take a profile off the existing stock and either source a match or have a knife run. Where no match exists we will show you the nearest option and say exactly where the difference will be visible, rather than fitting it and hoping you do not notice.
Across Frederick County and Maryland within about 90 minutes of Frederick — eight counties from Hagerstown across to Annapolis, including Middletown, Myersville, Thurmont, New Market and Mount Airy. Maryland only; we do not work in Washington, DC. Call (301) 524-1729 to talk through a piece.
Keep reading
Other write-ups on this trade and the ones that usually come with it.
While the crew is there

Talk to the people doing the work
Tell us what needs doing. We’ll walk it with you, sequence every trade it touches, put the price in writing, and leave you to decide.
Get a quote
Two short steps. No obligation, no pressure — just a clear number and a straight answer about what the job involves.


Tick as many as you like. Most jobs are two or three of them at once, and I sort out the detail when I come and look. Nobody gets turned away for choosing the wrong box.


