


Drywall Finishing & Repair
Finishing
Read more403 Navaho Dr, Frederick, MD 21701

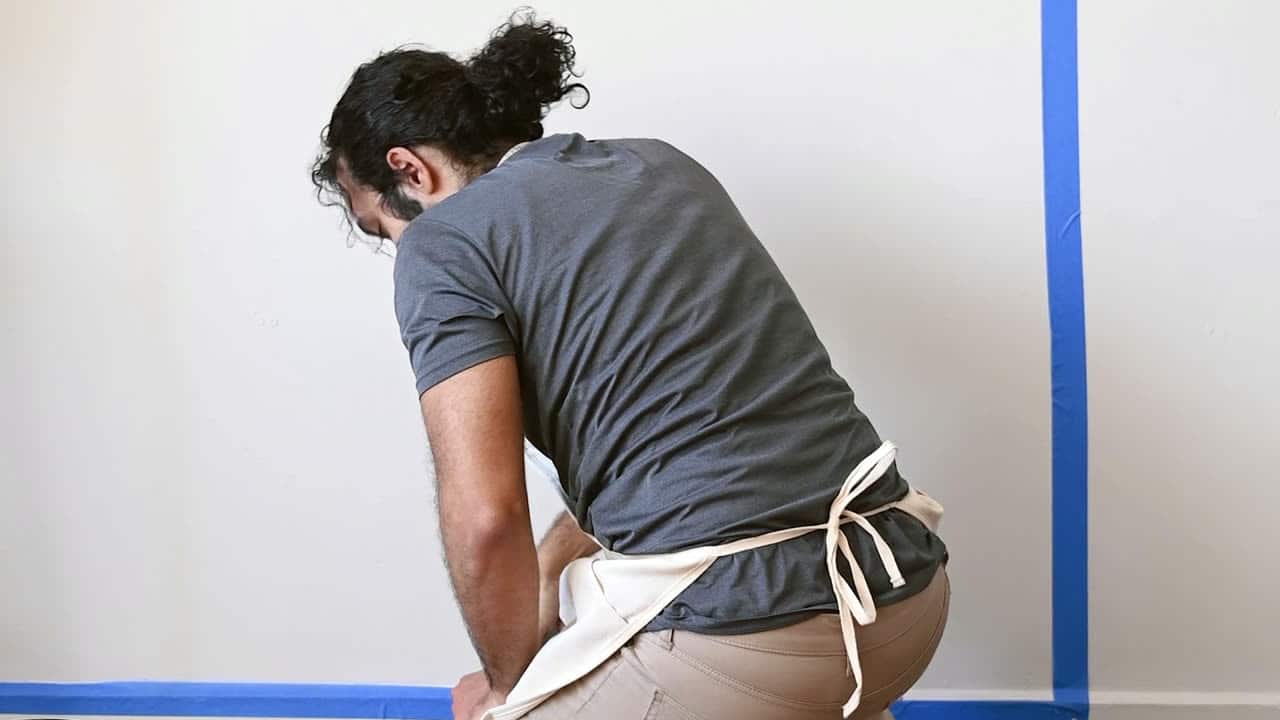
Painting · From the field
The wall got repaired. The wall got painted. And on the third afternoon, when the sun comes round to the west windows, there is a faint rectangle on it that was not there at noon. Nothing failed. The paint is fine, the repair is probably fine, and the wall is simply telling you it is made of two different materials. Almost every complaint we hear about a repair showing through paint comes down to that one fact and the three or four decisions that follow from it.
Quick answer
Because the patch and the wall around it absorb paint at different rates. Fresh joint compound is porous and pulls the binder out of the coat going over it, so the paint dries duller there than it does on the sealed wall beside it. That difference in sheen is called flashing, and more coats of the same paint will not remove it — the fix is a primer that makes both surfaces equally absorbent before any colour goes on.

What you are looking at is usually not a bump, a crack or a colour difference. It is a difference in sheen. The repaired area reads slightly flatter and slightly deader than the wall around it, and it only shows up when light comes across the wall at a shallow angle rather than straight at it. The trade word for that is flashing.
It matters that it is a sheen problem and not a paint problem, because the instinctive fix — another coat — is the one thing that will not work. A second coat of the same paint reproduces the same difference at a smaller scale. A third reproduces it smaller again. You can chase it four coats deep and still see it at four o’clock in the afternoon.
A finished drywall wall is not one surface. It is at least three: the paper face of the board, the joint compound over the seams and screws, and — on any wall that has been lived in — an existing coat of paint sealing all of it. Each of those takes paint differently.
Joint compound is the thirsty one. It is porous, and it pulls water and binder out of the first coat that touches it. What stays behind on the surface is proportionally more pigment and less binder, and a film with less binder in it scatters light instead of reflecting it. That is a duller finish. The sealed wall a foot away does not absorb anything, keeps its binder, and dries to the sheen the paint was designed to give.
So the two surfaces need to be made equally absorbent before colour goes on them. That is the entire job of a primer, and it is why skipping the primer is the single most common cause of a visible repair.
Stand close to a repair that shows and look at where the visible area starts and stops. Nine times out of ten the boundary is a soft-edged rectangle or oval considerably bigger than the hole that was fixed, and what you can see is not the filled hole at all — it is the perimeter of the compound.
Compound has thickness. Where it stops, there is a step. The step is small, perhaps a thirty-second of an inch, and your eye cannot resolve a height that small on a flat wall. What your eye resolves beautifully is the thin shadow that step throws when light runs across it.
The cure is width, not a steadier hand. A four-inch hole should carry compound something like ten to fourteen inches across, built in three coats, each one wider than the last, sanded out to nothing at the edges so there is no step left to cast a shadow. A four-inch hole finished with a six-inch patch is a mound, and a mound will show under any light that is not perfectly flat to the wall.
This runs against most people’s intuition, which says more compound means more to hide. The opposite is true. More compound spread over more width is less visible, because the transition is spread across a distance the eye cannot read as an edge.
If the wall or ceiling has a texture on it — knockdown, orange peel, skip trowel — then a perfectly flat, perfectly feathered, perfectly primed repair is still going to be obvious, because it is a smooth island in a textured field. Flatness and texture are two different problems and they get solved in two different steps.
Knockdown, orange peel and skip trowel are all matchable, and the honest way to do it is to spray a test onto a scrap board, get the pattern size and the knockdown timing right there, and have you look at it against the wall before anything gets sprayed on the actual surface. Hand-applied textures from decades ago are the hardest, and occasionally the honest answer is that re-texturing the whole wall or ceiling will look better than a matched patch.
Ceilings are the unforgiving case. A ceiling is usually one unbroken plane across the whole room, with no corner to stop at, so a texture mismatch has nowhere to hide and reads from the doorway. If a ceiling repair is large, re-texturing the whole plane is often the cheaper decision once you account for not doing it twice. Popcorn is its own category — scraped off, skimmed and finished flat runs $2.00 to $4.50 per square foot, and on a house built before about 1980 the ceiling gets tested for asbestos before anything disturbs it.
The shortcut that causes most of the trouble is using three coats of wall paint instead of one coat of primer and two of paint. They are not the same product doing the same job. Wall paint is formulated to build colour and survive being washed. Primer is formulated to seal a porous surface, equalise how much the surface drinks, and give the paint something to grip.
Over bare compound, a drywall primer is the baseline. Where the repair is large or the sanding left visible scratch marks, a high-build primer-surfacer is better, because it fills the scratches rather than settling into them and outlining every one.
Then there is the question of whether to spot-prime the repair or prime the whole wall. Spot-priming is fine on a wall going back into a flat paint. It is a bad idea on anything with sheen or any deep colour, for exactly the reason the repair showed in the first place: the spot of primer is itself a patch of different porosity, and you have solved the problem by moving it.
Stains are the other primer decision, and getting it wrong is the one that comes back weeks later. Water stains, smoke and tannin bleed need a stain-blocking primer — shellac-based or a proper oil-based blocker. A standard latex primer does not hold them back. It looks perfect on the day, and then the stain ghosts up through the finish a fortnight after everybody has gone home. If the repair followed a leak, stop the leak first; patching around an active one is money thrown away.
Flat paint forgives and sheen accuses. In rough order, flat hides the most, then matte, then eggshell, then satin, then semi-gloss, and gloss hides nothing at all. A semi-gloss wall is an X-ray of the surface underneath it, which is why trim is the one place a sheen that high makes sense and walls generally are not.
Deep, saturated colours punish a surface for a related reason. A heavily tinted paint carries more colourant on a base that is usually lower in binder to make room for it, and the resulting film shows differences in absorbency more readily than an off-white does. The navy accent wall is the wall most likely to reveal every repair on it.
The practical rule: if a wall is going into eggshell or anything above it, or into a dark or saturated colour, plan on priming the whole wall rather than the repairs, and on a wall carrying several repairs plan on skimming the whole surface instead of leaving islands. A level 5 finish is exactly that — a thin skim coat over the entire surface so the whole wall has one texture and one porosity. It adds $0.50 to $1.20 per square foot over a standard level 4 finish, and the conditions that justify it are precisely gloss or semi-gloss paint, dark colours, and any wall that catches strong raking light.
Raking light is light travelling nearly parallel to a surface rather than at it. Under raking light every fraction of a millimetre of relief becomes a shadow with a hard edge, and a wall that looked flawless under the ceiling light becomes a map of its own history.
In a Maryland house the usual sources are a west-facing window in late afternoon, a stairwell window throwing light down a long wall, a big slider onto a deck, and — increasingly — LED downlights set close to a wall. That last one has genuinely changed things. LED retrofits throw a harder and more directional beam than the incandescent cans they replaced, so ceilings and walls that read as acceptable for twenty years started showing every joint the week the bulbs got swapped.
This is also the whole explanation for the sentence every contractor hears: "it looked fine when they left." It did. The crew checked it at midday with the overhead light on, which is the most flattering light a wall will ever get.
The useful habit is to inspect before primer, not after paint, and to do it with a work light held flat against the wall so the beam skims across the surface. Anything that light finds at that stage costs one more coat of compound and twenty minutes of sanding. The same flaw found after the finish coat costs the wall again.
Here is the uncomfortable part: in most of the jobs we get called in to look at, nobody did bad work. A painter did a painter’s patch, which is a reasonable thing for a painter to do. A drywall crew handed over paint-ready and went to the next job, which is what paint-ready means. What was missing was anybody who owned the outcome across both.
Painters are not finishers. A painter filling a hole is working outside their trade, usually with lightweight spackle and a six-inch knife, because that is what is on the van. It fills the hole. It does not feather fourteen inches.
Finishers are not painters. A finisher hands off at level 4, correctly, and never sees the wall again under the eggshell and the deep grey the owner chose two weeks later. The decision that would have mattered — skim the whole wall, because of what is going on it — was made by somebody who did not know what was going on it.
We self-perform both trades, which is not a slogan so much as a scheduling fact: the crew that sets the patch knows what sheen is going over it, because the same company is putting the sheen on. How wide to feather, whether to skim the whole wall, whether to prime the surface or the spot, whether the texture needs matching or replacing — those get decided once, before the compound goes on, by people who will still be standing there when the finish coat does.
Find and stop the cause first if there was one — a leak, a moving joint, a popped screw line that is going to pop again. Then cut back to sound board and dry framing, patch or replace, and finish in coats that get wider rather than thicker. Sand, and pull the dust off the wall properly, because primer over sanding dust is a peeling problem in about a year.
Then match texture if there is texture, prime the surface the finish coat actually needs, and only then paint. Inspect under a raking light twice: once before primer and once after, when a cheap correction is still cheap.
For budgeting: a patch or hole repair is $180 to $500 per visit, an average bedroom repainted walls and ceiling runs $400 to $900, and interior painting generally works out at $2.00 to $6.00 per square foot of floor area, where almost the whole spread is prep. A level 5 skim adds $0.50 to $1.20 per square foot. The arithmetic that actually decides things is simpler than any of those numbers: doing the repair properly the first time is nearly always cheaper than painting the wall twice.
If you only skim
The trade behind this post
Interior & Exterior Painting
Reading because you have this exact problem? Call and describe it. You’ll get a straight answer on whether it’s something we do and roughly what it runs.
(301) 524-1729See how we do paintingOn the job
Trade photography, stage by stage. Photos of our own recent jobs come out at the walkthrough, on the actual house.


Straight answers
Not covered here? Call and ask — you’ll get a real answer, not a “depends on the job”.
Because the patch is more absorbent than the wall around it, so the paint dries with a different sheen over it. Each additional coat repeats that difference at a smaller scale rather than cancelling it. The fix is to go back, prime the surface so both areas drink equally, and then repaint — usually corner to corner rather than just over the repair.
Usually the whole wall, and you stop at an inside corner rather than in the middle of a surface, because any stopping point mid-wall becomes its own visible line. The exception is a flat ceiling in a standard ceiling white, where a well-primed spot repair can genuinely disappear. Anything in eggshell or above, or in a deep colour, should be taken corner to corner.
A small patch or hole repair runs $180 to $500 per visit, which covers the trip, the compound work over two or three coats and the sanding. Painting is separate: an average bedroom, walls and ceiling, runs $400 to $900, and interior painting generally works out at $2.00 to $6.00 per square foot of floor area.
Level 4 finishes the joints, screws and corners and leaves the paper face of the board exposed between them. Level 5 adds a thin skim coat over the entire surface, so the whole wall has one uniform texture and porosity. It adds $0.50 to $1.20 per square foot. Level 4 is right for most walls in a matte paint. Level 5 earns its money on gloss or semi-gloss, on dark colours, and on any wall that catches strong raking light.
Usually, yes. Knockdown, orange peel and skip trowel are all matchable, and we test on a scrap board and get you to look at it before it goes on the wall. Hand-applied textures from decades ago are the hardest, and occasionally the honest answer is that re-texturing the whole wall or ceiling will look better than a matched patch. On a popcorn ceiling in a house built before about 1980, the ceiling gets tested for asbestos before anything disturbs it.
Across Frederick County and Maryland within about 90 minutes of Frederick — eight counties from Hagerstown across to Annapolis. Maryland only; we do not work in Washington, DC. Call (301) 524-1729 or send photos of the wall through the quote form.
Keep reading
Other write-ups on this trade and the ones that usually come with it.
While the crew is there

Talk to the people doing the work
Tell us what needs doing. We’ll walk it with you, sequence every trade it touches, put the price in writing, and leave you to decide.
Get a quote
Two short steps. No obligation, no pressure — just a clear number and a straight answer about what the job involves.


Tick as many as you like. Most jobs are two or three of them at once, and I sort out the detail when I come and look. Nobody gets turned away for choosing the wrong box.


